First things first, congratulations! A Buyer on StockX has decided to purchase your item! Nice one.
And now the ball’s in your court – you’ve got 2 working days to post your item to us. Sellers in the US and most other countries can either hit up the nearest UPS store location (which you can find right here) or schedule a UPS collection from your home or office. Sellers in certain regions outside the US and Europe will post their items with local carriers such as SF Express, DHL, Fedex or ECMS instead of UPS. Check the shipping label provided by StockX to make sure that you use the correct carrier.
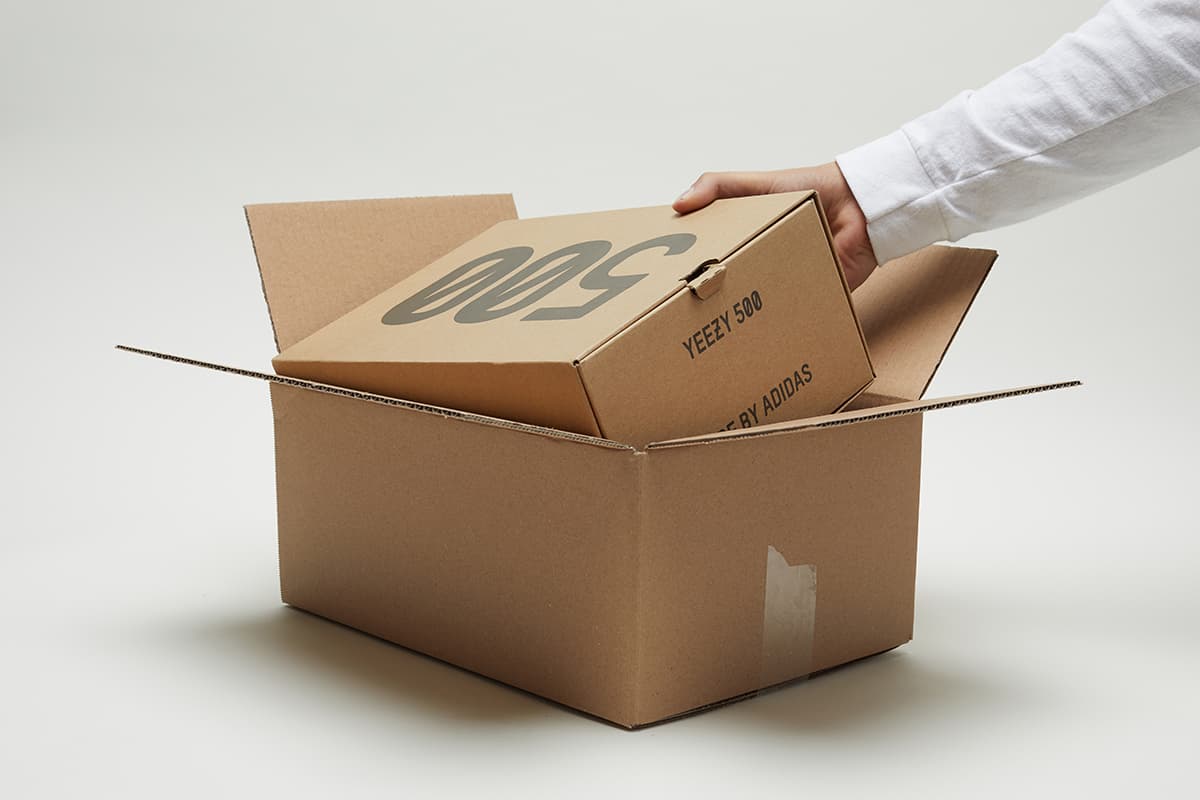
Before you rush out the door, we want to make sure that you’ve got everything ready to send that item off to a StockX authentication centre. We know, we know, it sounds pretty straightforward, but trust us when we say that there are a LOT of ways it can go wrong. That is why we’ve created this super easy, step-by-step blog post about exactly how to pack that next great StockX parcel.
Please remember that StockX is not responsible for items which are not packaged properly. Always hold onto the drop-off receipt until you receive payment.
Let’s get started.
Step 1: Put your invoice inside the shoebox and/or envelope with the product

Step 2: Put your item into a bigger and sufficiently sized mailing box
As a general rule, the box should be no bigger than 5 cm on either side of the shoebox.

Step 3: Use bubble wrap and/or packing paper to ensure that the item doesn’t move around in the box while in transit

Step 4: Properly tape and secure the shipping box using the H-method.
Seal package across the side flaps and the seams on the top and bottom of the shipping box using the 6 strip, H-method, with strong parcel tape. Do not use masking tape, sticky tape, duct tape or string to secure package, and do not wrap it in paper.

Step 5: Tape or fix the shipping label provided to the outside of the mailing box
UPS stores should provide you with a folder for the outside of your package for free.

And that’s it. Your parcel is now safe and secure and ready to send. That’s all there is to it. Don’t forget to hold onto the drop-off receipt until you receive payment.
Now just as a friendly reminder, here’s a list of things that you should NOT do when shipping your item…
Do NOT send us a box with any personal items from the shoebox and or mailing box
You’d be amazed by the weird sh*t we get. Don’t believe us? Follow our Instagram.

Do NOT tape the shipping label directly onto the shoebox

Do NOT tape up and send us only the shoebox

Do NOT send your sneakers in a box that’s too big without any bubble wrap or packing paper
This is what will happen…

Do NOT send us a box with HAZMAT stickers on it
This is illegal! If you’re using a box that’s got these stickers or labels on it, you MUST remove them before sending.

Do NOT use a mailing box that is too small

Do NOT send us a shoebox in an envelope
Trust us, it will damage the shoebox.

Do NOT send a package to us without attaching the shipping label that we generate for you.

Do NOT send us footwear without the shoebox

Do NOT send us a fragile item with ZERO packing paper
We assure you that it will break…just like this Supreme vase did.

And finally….Do NOT send us an item in a box of cereal
No matter how tasty it is. Yes, this is real.


