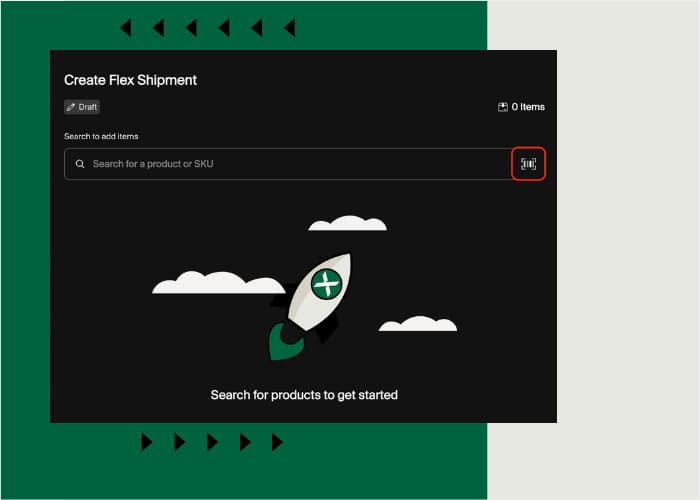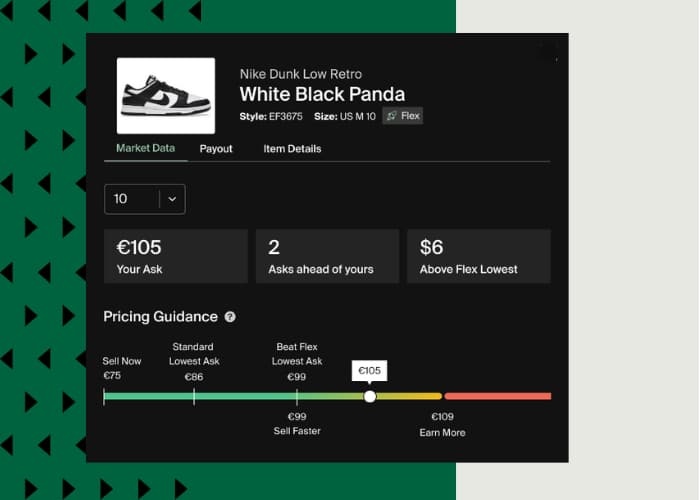



The StockX Sales Channel App on Shopify allows Shopify sellers to list products and manage orders on StockX straight from the Shopify platform. This onboarding guide will help you get started with the integration, manage your listings and update your inventory.
To get started, check out our onboarding guide below or install the StockX app in the Shopify App Store today.
You can also check out our video guides for getting started below:
- Shopify | StockX – Getting Started
- Shopify | StockX – Matching 1 (GTIN/UPC)
- Shopify | StockX – Matching 2 (Style ID)
- Shopify | StockX – Matching 3 (Smart Matching)
- Shopify | StockX – Listing & Pricing
- Shopify | StockX – Bulk Upload StyleID & Size
- Shopify | StockX – Matching Status & Error Handling
- Shopify | StockX – Listing Status & Error Handling
- Shopify | StockX – Order fulfilment, Labels & Inventory
Before You Begin
Before you begin, please make sure that you meet the following requirements:
- Product Selection: Make sure that the products you want to sell are in the StockX catalogue. You can check by searching for your product or products here or searching by brand here. The StockX catalogue features a wide range of current culture items such as sneakers, streetwear, electronics and collectibles, including brands like Nike, adidas, Air Jordan, ASICS, Supreme, Fear of God, Louis Vuitton, POP MART, Sony PlayStation and many more.
- StockX Account: You must have an active StockX account.
- Complete Account Details: Make sure that your StockX account details are complete, including delivery and payment information.
- GTIN in Barcode Field: Products you want to list on StockX should have a Global Trade Item Number (GTIN) value in the barcode field of the variant on your Shopify store. Read more for further product matching options, including the StockX Style ID product metafield and Smart Matching.
- Currency: Your Shopify and StockX accounts should use the same currency.
- Pricing: The products should be priced appropriately on Shopify with an option to mark up when listing on StockX.
- Onboarding: Please read this onboarding guide in its entirety before connecting with StockX.
Set up
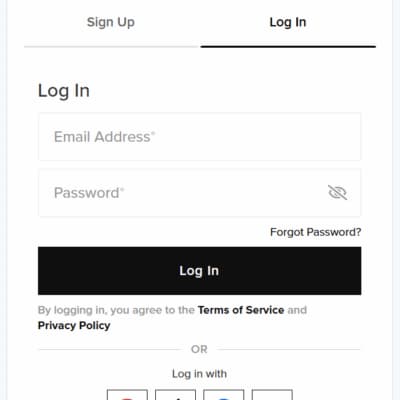
- Step 1 – Log in to Shopify: Open your Shopify admin panel by logging in with your user details.
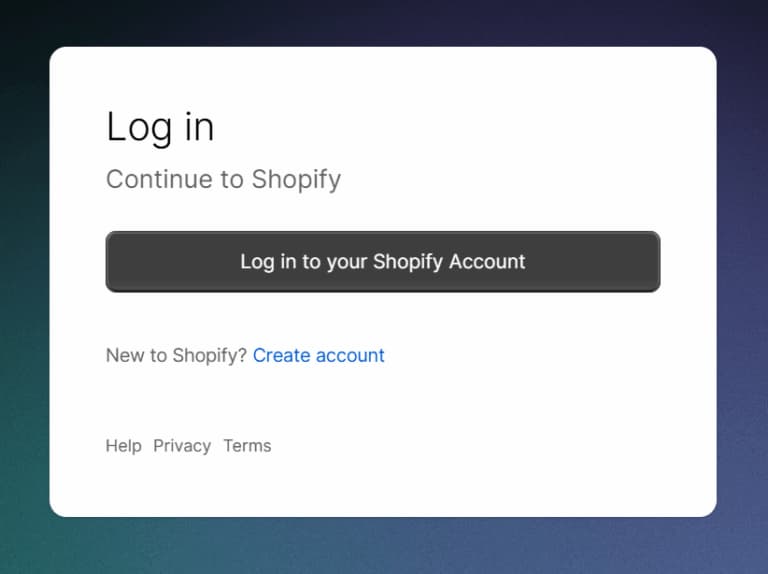
- Step 2 – Log out of StockX: Make sure that you are logged out of your StockX account on your browser.
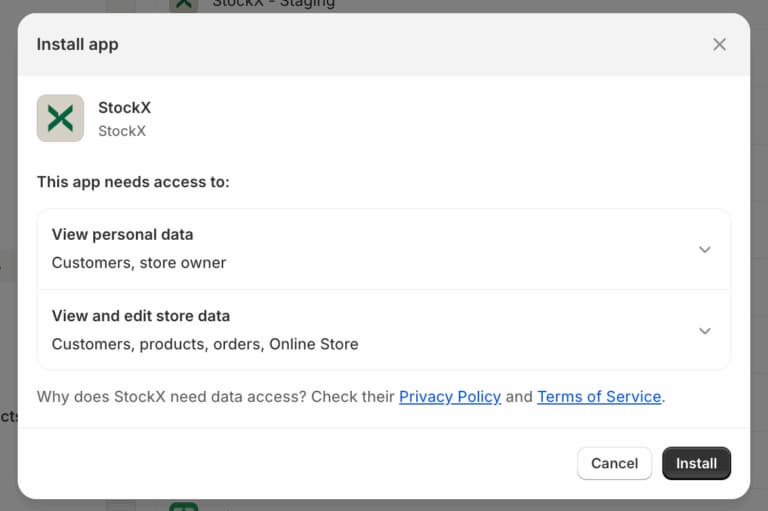
- Step 3 – Install the App: Search for "StockX" in the Shopify App Store or visit this link. Click the “Install” button and follow the prompts.
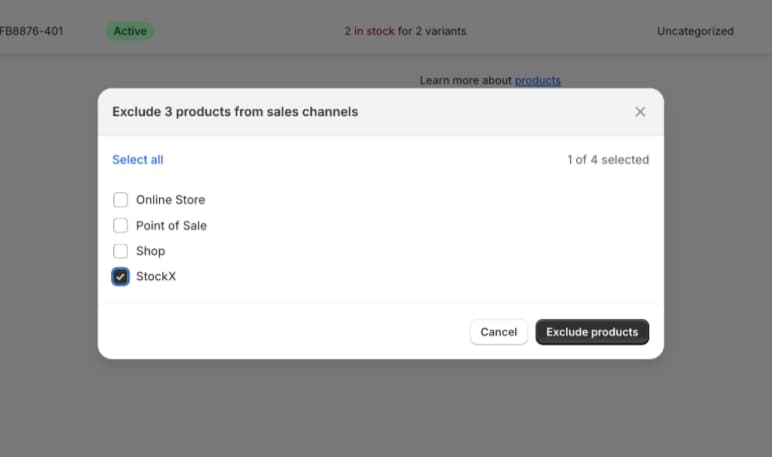
Step 4 – Exclude All Products: In order to prevent all your products from being listed on StockX automatically, exclude them from your StockX Sales Channel.
- Open the Shopify admin and go to the Products page.
- Select all products using the tick box.
- Click on the three dots (…) and select “Exclude from Sales Channel”
- Select “StockX” and click “Exclude products”
Configuring the StockX Sales Channel App
- From your Shopify admin, go to Settings > Apps and sales channels.
- Click StockX.
- Click Open sales channel.
- In the StockX Account section, click Connect.
- In the "Are your items sellable on StockX?" pop-up, check the product categories and brands and then click "Yes I sell these items" if you have the relevant products.
- To connect your StockX account to Shopify, log in with your StockX account details.
- Follow on-screen instructions to match and list your products and refer to the Managing Your StockX Listings on Shopify section below
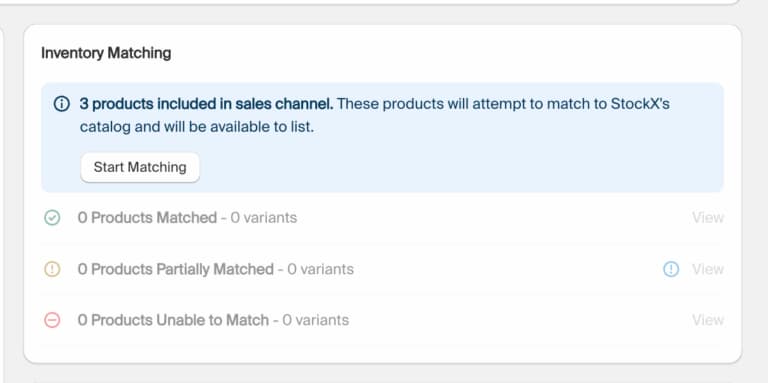
- Click on Publish Listings to list your products.
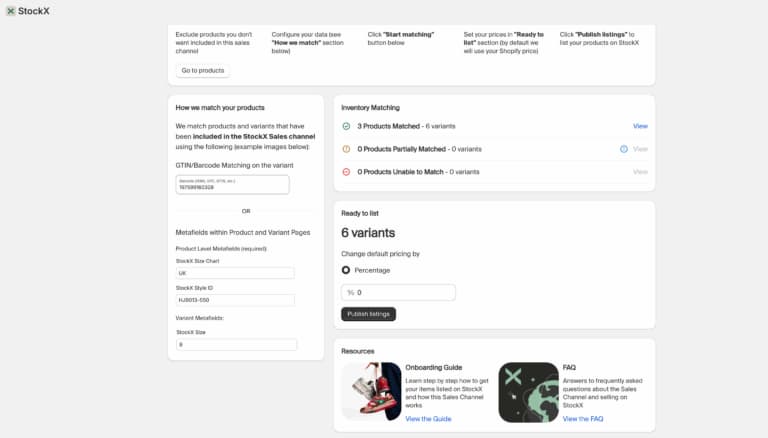
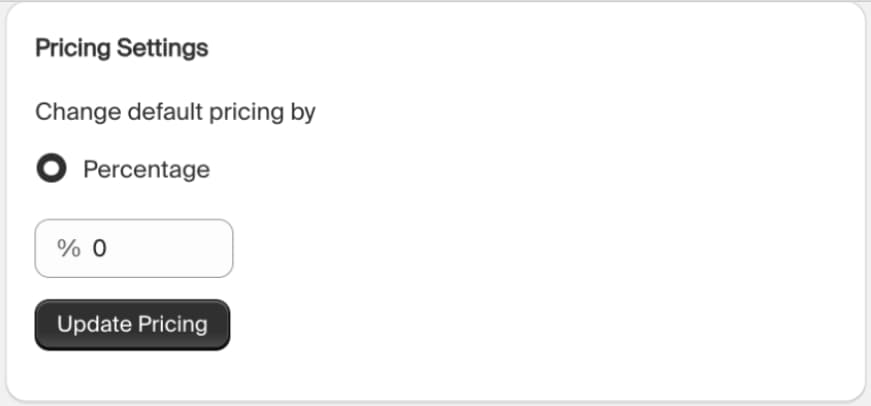
- Add a mark-up or mark-down from your Shopify price to StockX listings using the price settings. For example: a 10% mark-up on a product priced at $100 on Shopify will be listed for $110 on StockX, and a -10% mark-down on a product priced at $100 on Shopify will be listed for $90.
Managing your StockX Listings on Shopify
See screenshots in the carousel below for examples.
Step 1 – Find matching products on Shopify in the StockX catalogue
- Shopify products are primarily matched to the StockX catalogue using the Global Trade Item Number (GTIN) value, which can be found in the Barcode field (ISBN, UPC, EAN etc) on the product’s variant page. This is the most reliable method for matching because GTINs are globally unique identifiers for products.
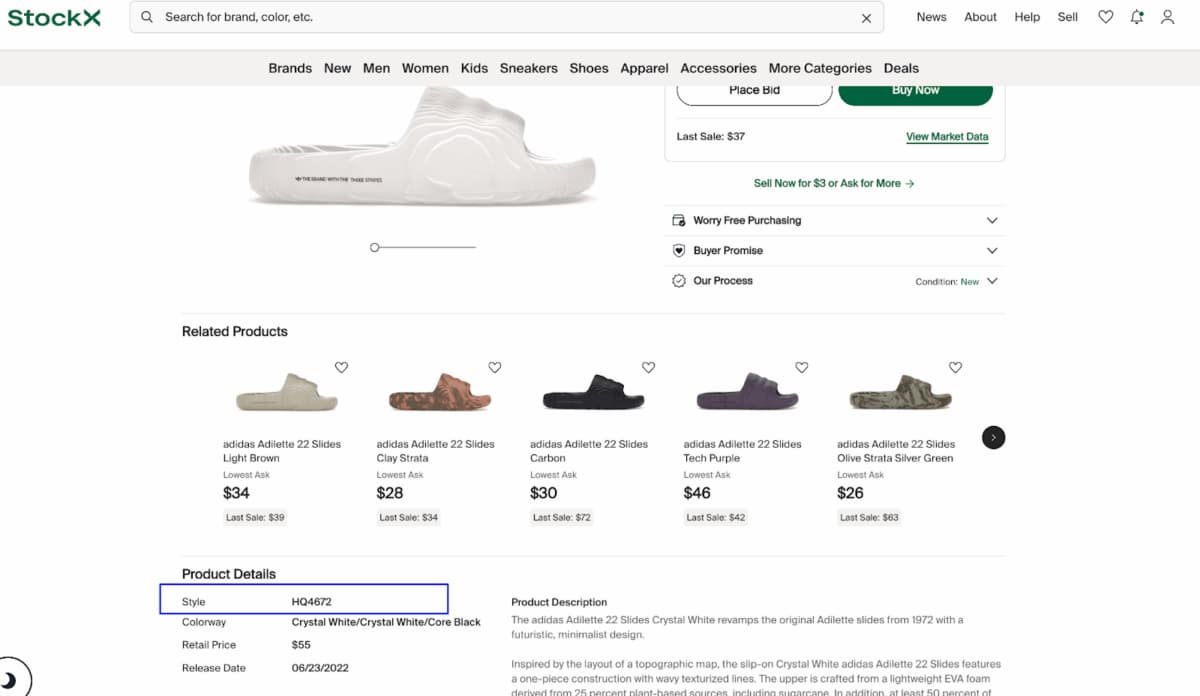
- However, if a GTIN match isn’t found, the system will attempt to find a match using the StockX Style ID product metafield. This metafield should contain the unique Style ID that corresponds to the product on the StockX website. An exact match to the value on the StockX website is preferred.
- As well as the Style ID, the system also checks the StockX Size Chart product metafield and the StockX Size variant metafield. Choose the correct Size Chart metafield from the dropdown values on the StockX Size Chart product metafield. Enter the Size in the StockX Size metafield on the variant metafield on the variant page.
- The Size value in the product’s variant must correspond correctly to the values in the Size Chart metafield.
- For instance, if the Size Chart uses US sizing (e.g. US M), then the Size value should also correspond to US M.
- Make sure that the Size value is a number and doesn’t include any other details (e.g. use 8 instead of US 8).
- If a GTIN match is not possible, the system will attempt to match the product using a combination of the Style ID, Size Chart and Size values. This method is less reliable than GTIN matching, but it can still be effective if the details are entered correctly.
- Match unmatched products using Smart Matching – by clicking on Map Products and manually approving or rejecting your matches, this method allows you to be fully in control. Please refer to step 5 to check your unmatched inventory eligible for Smart Matching.
Step 2 – Confirm the GTIN Values
- Open a product on Shopify and click on a particular variant. Confirm the correct GTIN value is in the “Barcode (ISBN, UPC, GTIN, etc)” field on the variant page.
Step 3 – Confirm the Style ID Related Value
- Open the product page on Shopify and check the StockX Style ID and StockX Size Chart product metafields. Then open the variant page on Shopify and make sure that the StockX Size Variant metafield is completed.
Step 4 – Select Products for StockX
- Use the app interface to select products that you want to list on StockX.
- Select “Include in Sales Channel” and then “StockX”. Then select “Include products”.
- Any products/variants that are included and match a GTIN on StockX are then added as a live listing on StockX.
- NB: Include fewer than 10 products initially to test that the products are being listed appropriately before selecting all of your products.
Step 5 – Review and Match Products
- On StockX Pro: Double-check your product listings and make any necessary individual price adjustments on StockX using the selling page or on StockX Pro.
- On the Shopify app: For any unmatched products, use Smart Matching on Map Products to manually approve or reject products.
Examples Below:

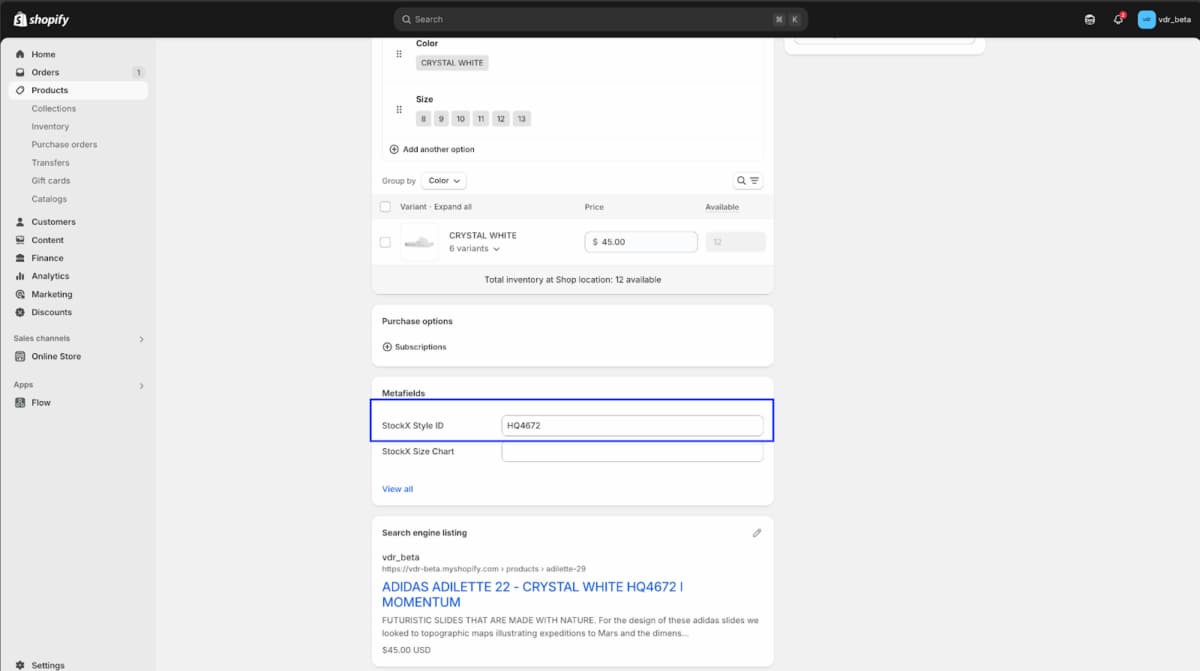
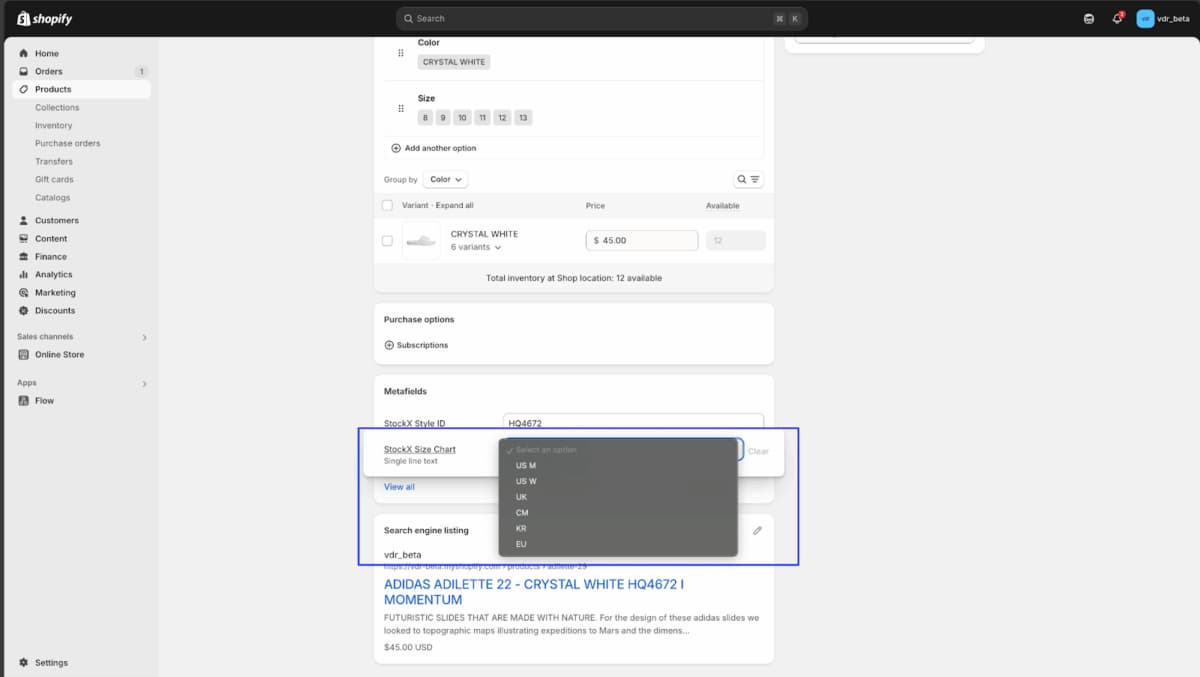
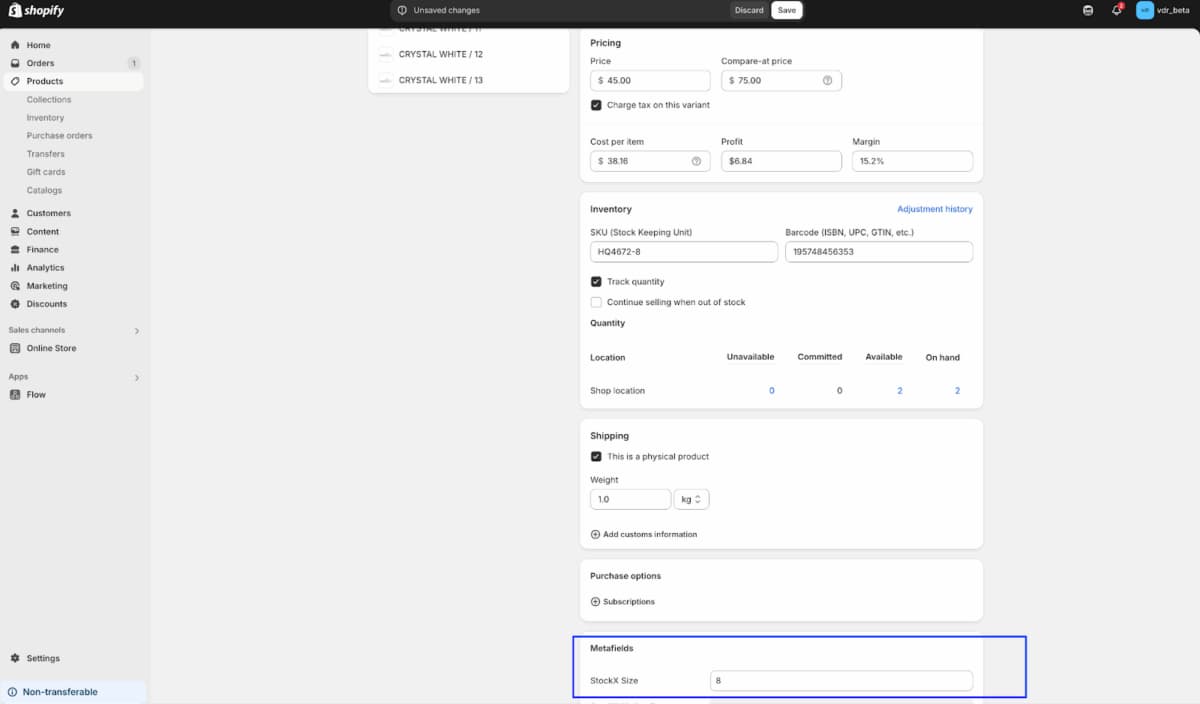
Add Style ID in the StockX Style ID metafield
Finding the Style ID on a StockX product page
Choose the correct Size Chart metafield from the dropdown values
Enter the Size in the StockX Size metafield on the variant page
Monitoring and Updating your Inventory
- Step 1 – Track Sales and Inventory: Use the app dashboard to monitor sales and inventory levels. The app will automatically update your Shopify store with sales data from StockX.
- Step 2 – Manage Orders: Fulfil orders as they come in. StockX orders must be shipped using the label and documents provided by StockX. This is available on the StockX pending selling page or StockX Pro. Do not use your own label or your orders may be cancelled.
Tips for Adding and Deleting Listings
- Only one quantity of each product will be listed. Once a sale happens on StockX, the Shopify quantity will be decreased and the StockX listing will be replaced by a new listing (if there is quantity remaining in Shopify).
- Products with zero quantity/zero price will not be listed.
- Mark-up cannot be done for individual products.
- Any product or price-related changes (such as deleting a listing or updating your Ask price) made on StockX or StockX Pro will not be shown on Shopify. Shopify price changes will be pushed to StockX and override any price there.
- Any price changes made on Shopify or StockX will be reflected on StockX and if an order is completed, the order will be placed on Shopify and the inventory will be adjusted accordingly.
- Deleting a listing from StockX will not delete the listing from Shopify. The listing may get relisted at any time; you need to exclude the product from the StockX sales channel on Shopify to avoid relisting.
- If you update a listing on Shopify, the price will be updated on StockX. You can also update the price for individual products on StockX. The prices will be overwritten whenever the product price on Shopify is updated.
Further Information
Negative Payout Prevention:
If you reduce the price such that the payout becomes negative, the Ask will not be updated and the previously listed Ask will remain unchanged.
Seller Limit Enforcement:
If you increase the price above the allowed Seller Limits, the Ask will not be listed and the previously listed price will remain unchanged.
For more info about Seller Limits on StockX, visit our Help Centre article: Why Am I Unable to Place an Ask?
For any further questions, please visit our Help Centre or contact [email protected].