


After you’ve sent your products to Flex, you can check the status and manage the items once they’ve been verified.
Managing Flex Listings:
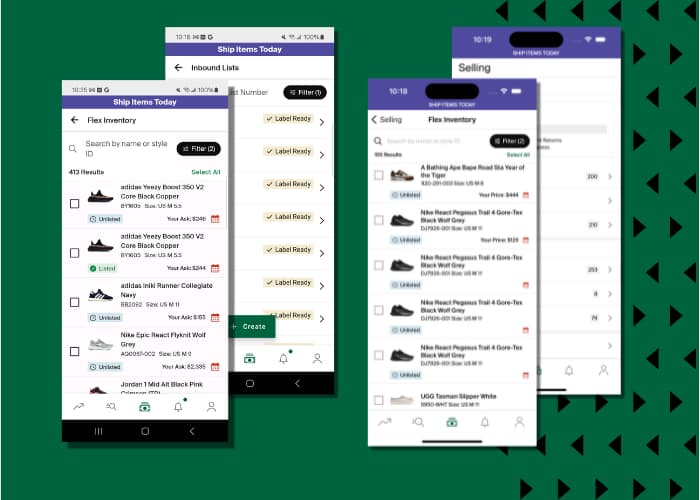
- Products that have been dispatched will appear under the Draft status in the Flex > Inventory section of StockX Pro if they have not yet been dispatched. Once you’ve sent off your items, they will move to “Shipped”, then “Delivered” and finally to “Verifying” before being listed.
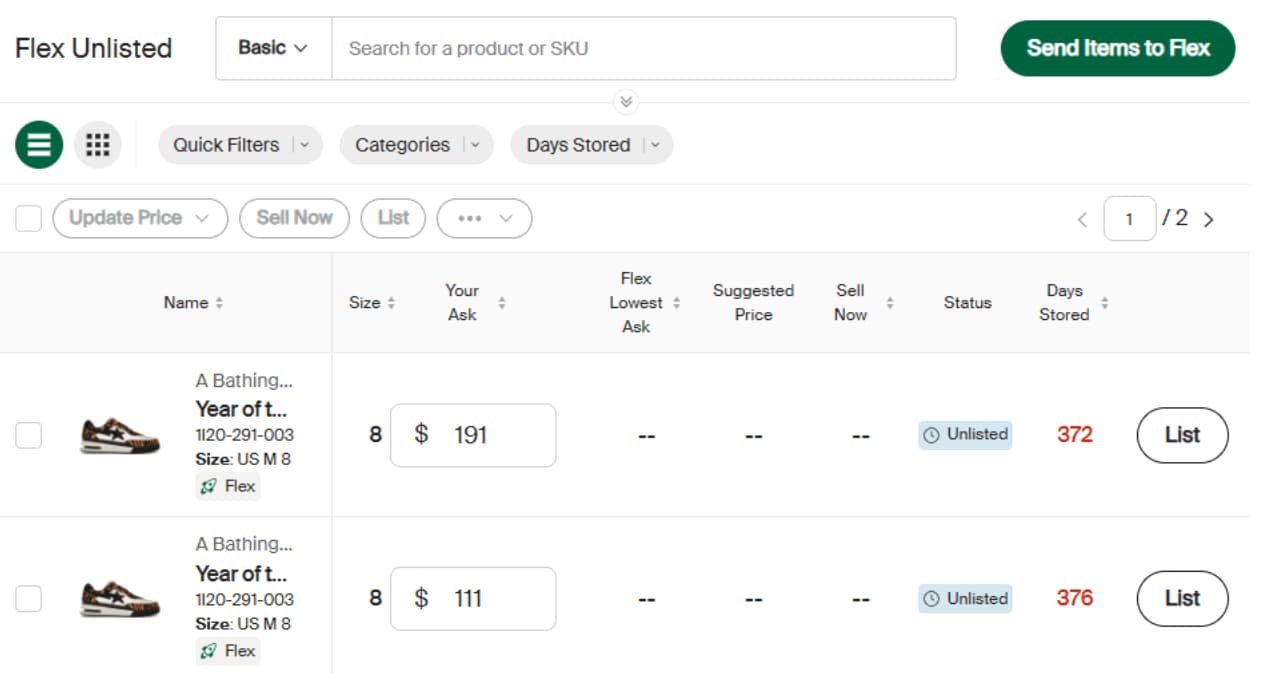
- After the product or products have been verified and put into Flex storage, they will move to the Unlisted tab in StockX Pro. Go to Flex > Inventory or Unlisted to view these products.
- If a product fails verification, we will return it to the delivery address listed on the seller’s StockX account. For more information, visit our Help Centre article: What does the verification process entail for Sellers?
- When your products appear in the "Unlisted" section, you can set a price in the text box under the Your Ask column.
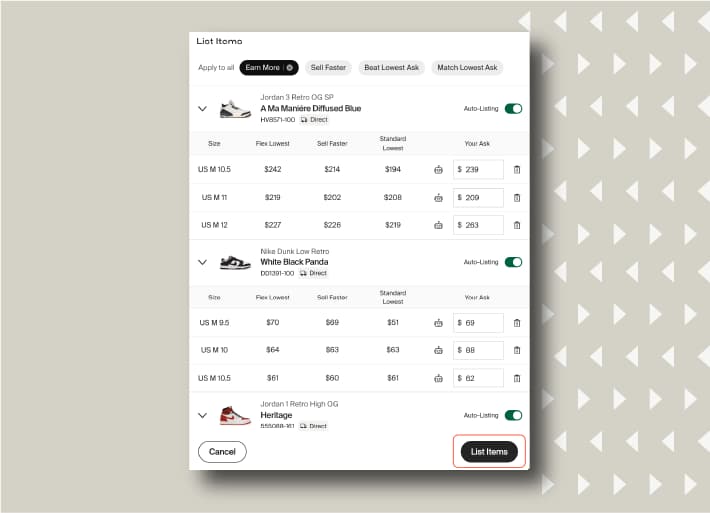
- For smarter product pricing, you can use the StockX Pro bulk pricing tools below. For more information about how these tools work, visit our StockX Pro guide for creating listings.
- Beat Lowest Ask
- Suggested Price (US)
- Sell Faster / Earn More (INTL)
- Click Save & List and the products will go live for our millions of buyers around the world.
More Tips:
- You can “Sell Now” at any time on Flex.
- Understanding Flex status labels:
- Listed: Live on the StockX marketplace.
- Unlisted: Not yet for sale but can be sold once you list the product.
- Verifying: Waiting to be verified and put into Flex storage.
Next, we’ll cover Flex payouts & fees.